Mini tutorial: setting up a LiveKit Cloud project

LiveKit is an open-source WebRTC SFU and set of client libraries for all major platforms. Because LiveKit is open source, you can easily run the server yourself. Running a LiveKit server is pretty easy but it's even easier to use LiveKit Cloud and its generous free-tier.
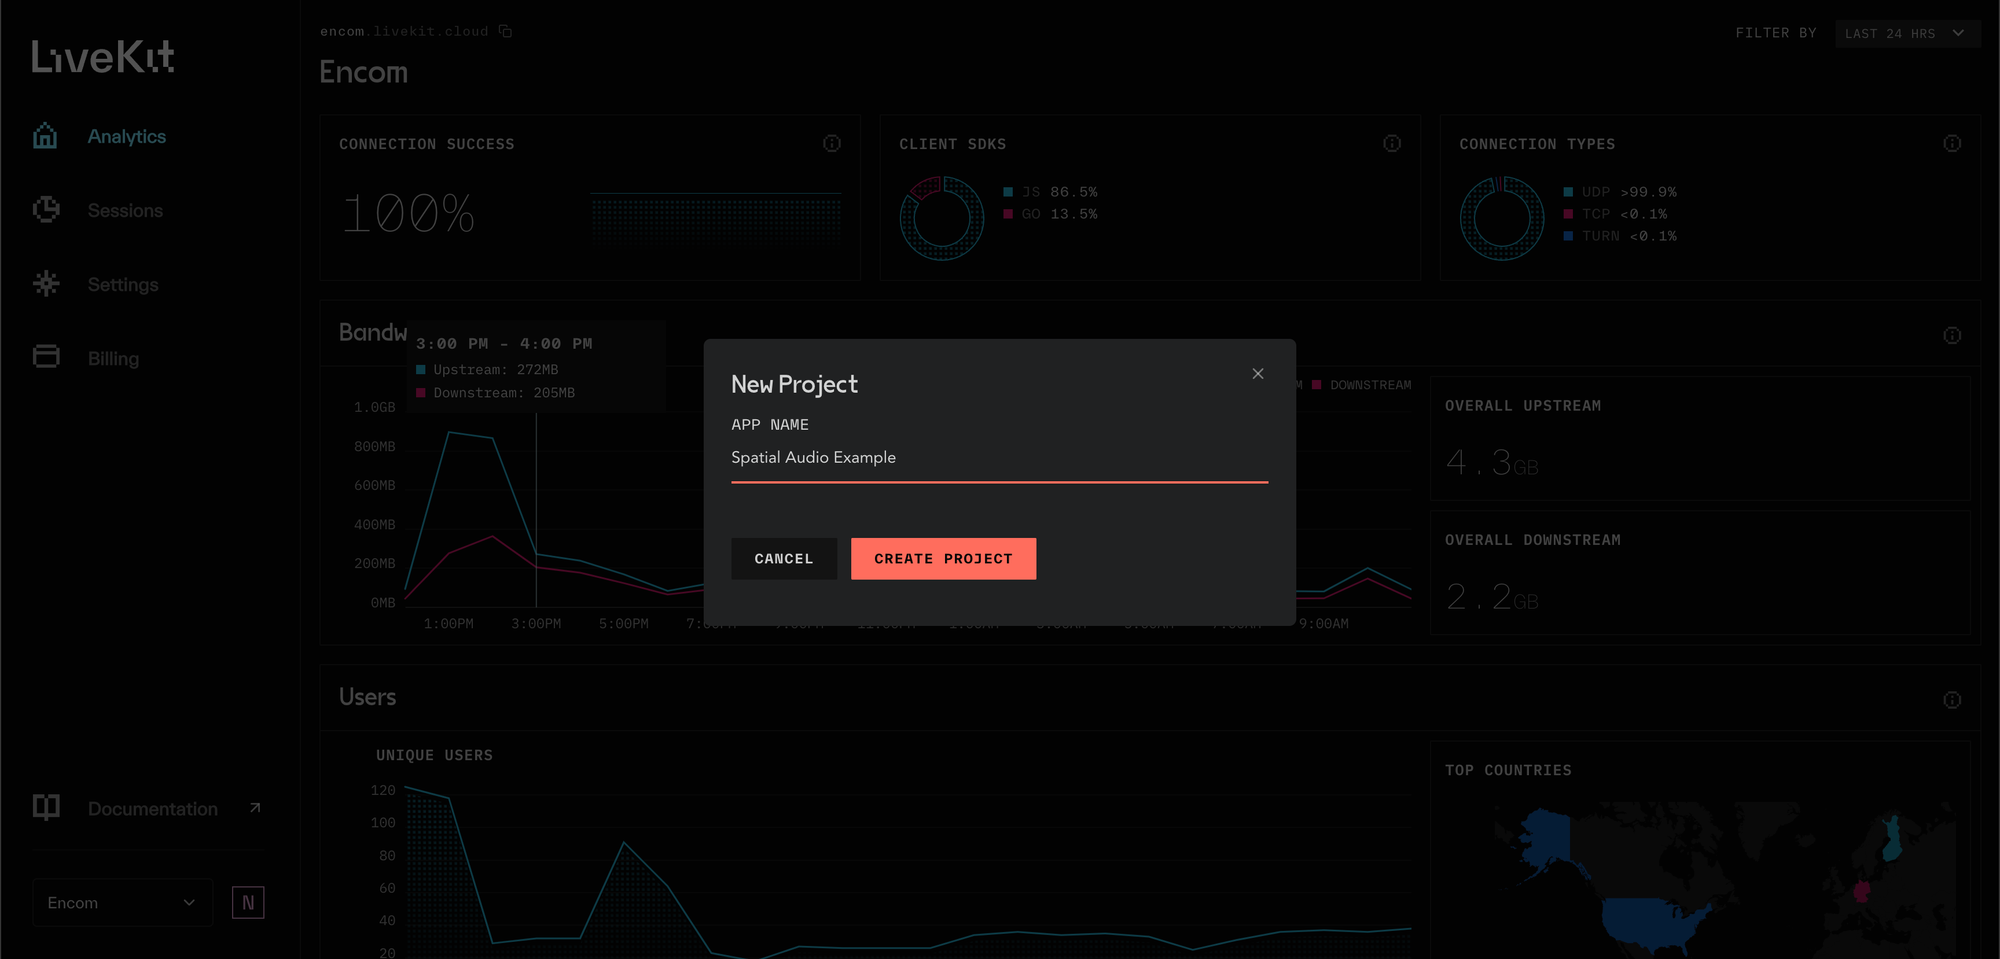
Creating a Project
Once you’ve signed into LiveKit Cloud with your preferred method, you’ll be prompted to create a new project. Create this project with whatever name you like.
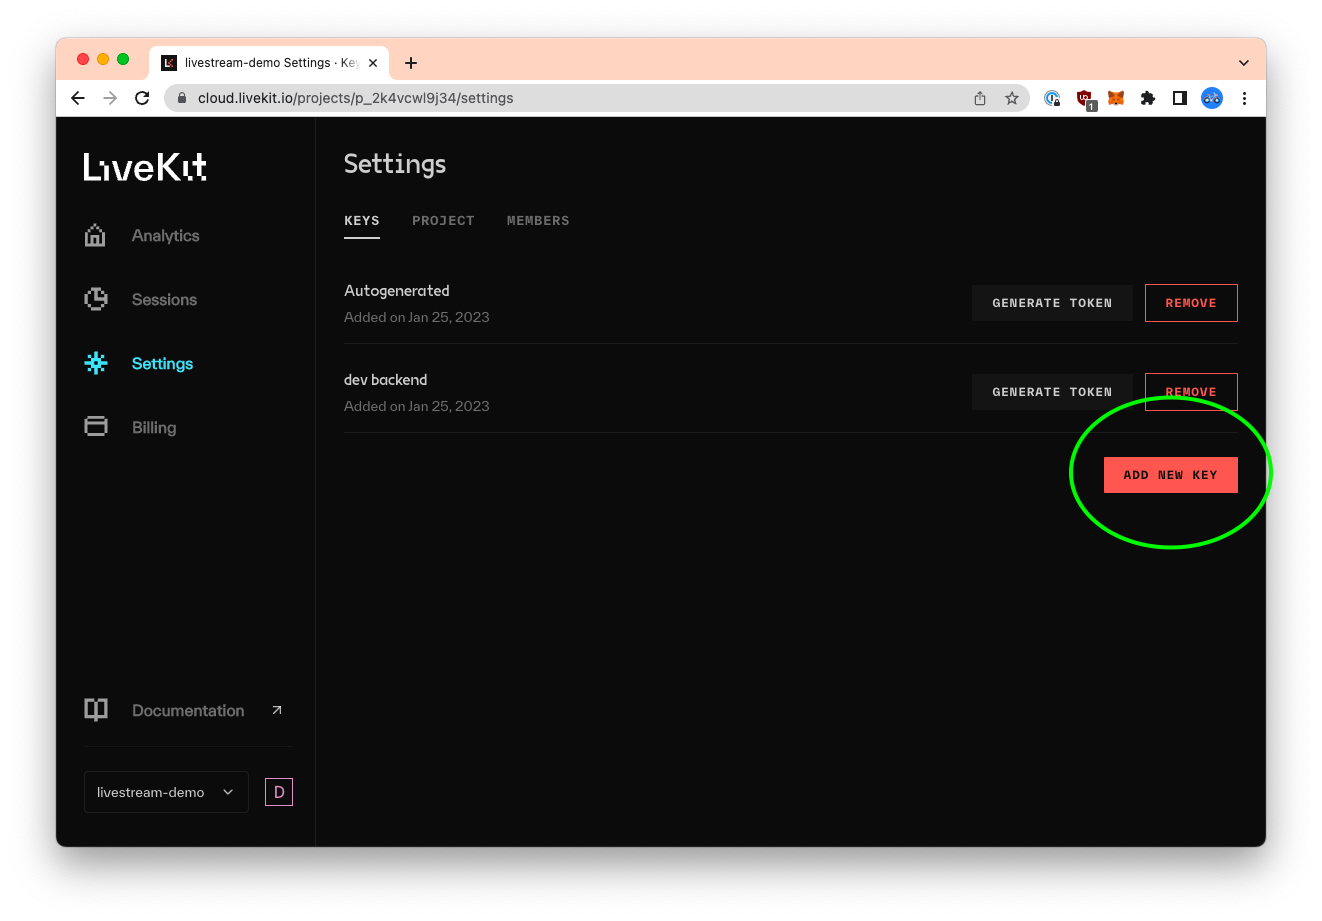
Generating Keys
Once you’ve created a project, you’ll need to generate your keys. This can be done in the settings page of the project.
You’ll get two strings from this step, a LIVEKIT_API_KEY and a LIVEKIT_API_SECRET.
Connecting to Your First Room
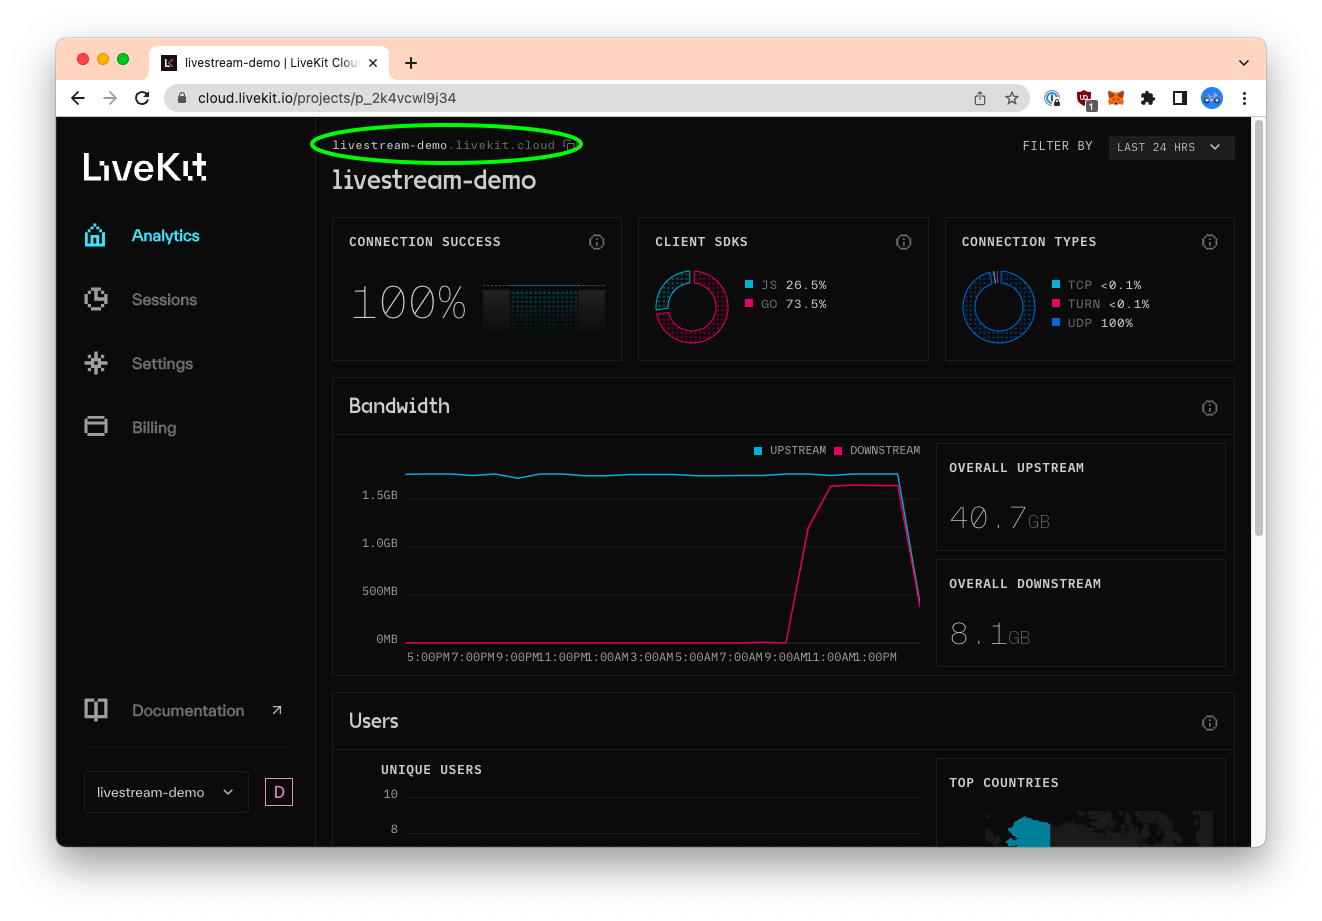
Once you have your keys, you need one more thing to connect to your first room: the project’s url. This can be found at the top of the dashboard (circled in green).
And that’s it, you’re now ready to add WebRTC to your app! LiveKit Cloud will take care of scaling resources horizontally and making sure your users have low latency connections to each other from anywhere in the world.
Next Steps
From here you’re ready to start building. LiveKit has sdks for all major platforms. Check out our docs to get started.
We also have a growing list of example apps using LiveKit to do amazing things.